Unless you have experience within the design industry many of the terms used throughout the world of 3D visualisation can be pretty meaningless. White renders, modelling, post production, these may all sounds a bit specialist and potentially unrelated to what you are asking for but here we will go through the basic processes we use/follow to create our 3D visualisations and hopefully explain all the main points in a simple format.
- The client – This one is quite simple, it is the person or company who hires us. They want to have some images to showcase their property or product. But the property or products are not yet made. So to help them show off their products/projects to potential investors or buyers they employ North Made Studio to create CGI (computer generated imagery) representations of the property of products.
- Required information – Once we receive an order we request a variety of information to help us build up an idea of what the project is. This can and usually consists of architectural drawings of the project, floor plans, side elevations, etc. For interior visualisations we also request information about the style of decor that the client wants the spaces dressed in and furniture.
- Modelling – Once we have all of the information from point 2, we can start to build the building or room in 3D on our computers. These models are created to accurate scale and we add all relevant information such as position of windows, doors, lights, landscaping, etc.
- Camera set up – Once we have created the virtual 3D model of the building or room we then need to set up the position of the camera or cameras that will be placed in this space. This effectively just means the angle/area that the visualisation is going to be pointed at. For example if we are creating a 3D visualisation of a kitchen, we would have a camera positioned at the back of the room, pointed at the kitchen units to show as much of the important space as possible. Once we have created the model, we can position as may cameras as is required. It just costs more to have more cameras as this will require additional time to create.
- Lighting – This just signifies the lighting sources. within our 3D design software we can position the source of lighting for the building or room. For example for exterior viewpoints we can add the sun and the shadows and reflections within the design will be subject to the position of this. The same goes for interior visualisations, we can position the light sources subject to the decor, so if specified the room can be lit by ceiling lights or other lights with the room.
- White renders – This is where we supply a basic visual of the scene. It just shows the space we have created viewed from the approved angles/positions. There is no detail on this image, it is purely to show how things sit in situ and to make sure everything is correct to the clients spec. Once the white renders are signed off by the client, the position of the camera(s) and lighting sources are set and will not be changed.
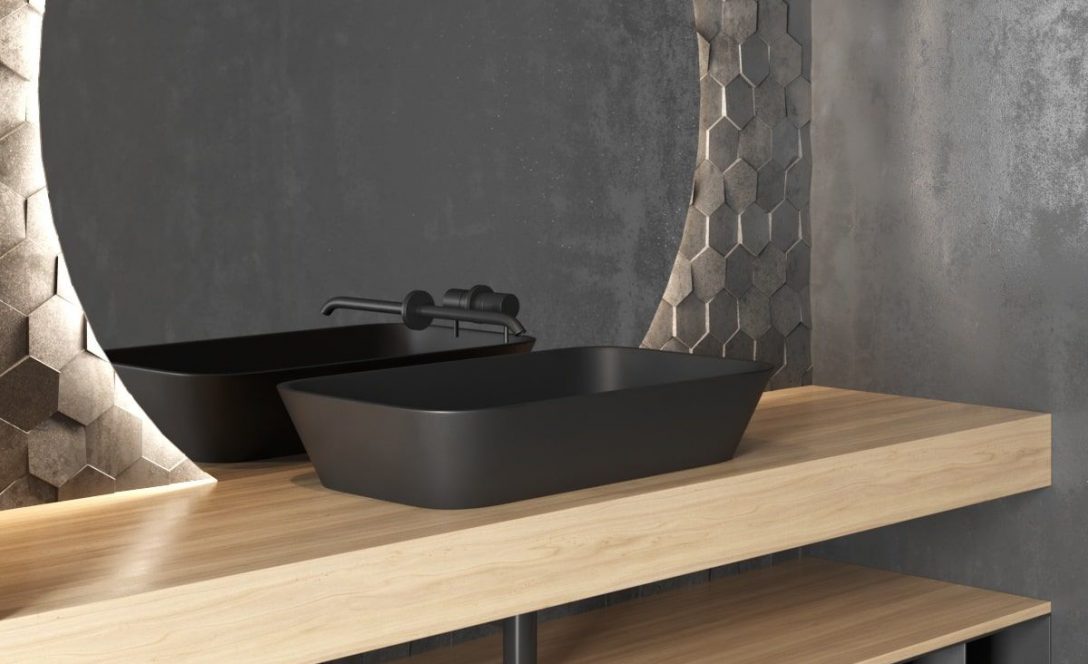
- Materials added – After the white renders have been signed off and agreed our designers then start to add textures to the model, this means adding things like brickwork, wallpaper, carpets, wooden flooring, tiles, etc. Basically just dressing the 3D model we have created in the textures/materials that the client has specified. Depending on the spec the client has asked for these can be simple low resolution textures to just create a simple visual, or they can be highly detailed textures that will transform the 3D model into a photorealistic design.
- Rendering – Once all of the relevant areas of the model have had textures and materials added, it is time to render the model. In basic terms this effectively takes a photo of the model from the camera(s) that was positioned earlier. this photo will produce a high resolution (4K) image of the building or room in very high quality. Due to the amount of textures and materials added to the space, this rendering process can take several hours, as the computer and software need to crunch through all the information that has been created within the 3D scene.
- Alternations – Once we have the completed renders the client can look them over and if there are any areas that they are unhappy with we can look to edit them within the 3D design and produce an updated render of the altered design.
- Post production – Once we have the final render, and it has been approved we can then drop it into some photo editing software and add a bit of polish. Within software like photoshop we can populate the rendered images with additional items such as people, cars, pants, trees, etc. This post production service is a nice way to adding the final touches to a 3D visual and bringing it to life even more.
So there you have it, the 3D visualisation process explained in simple terms that we hope anyone can understand. If not, then please feel free to give us a call or shoot us an email and we can try to explain it further.